Duncan Eddy
Blog
July 1, 2021
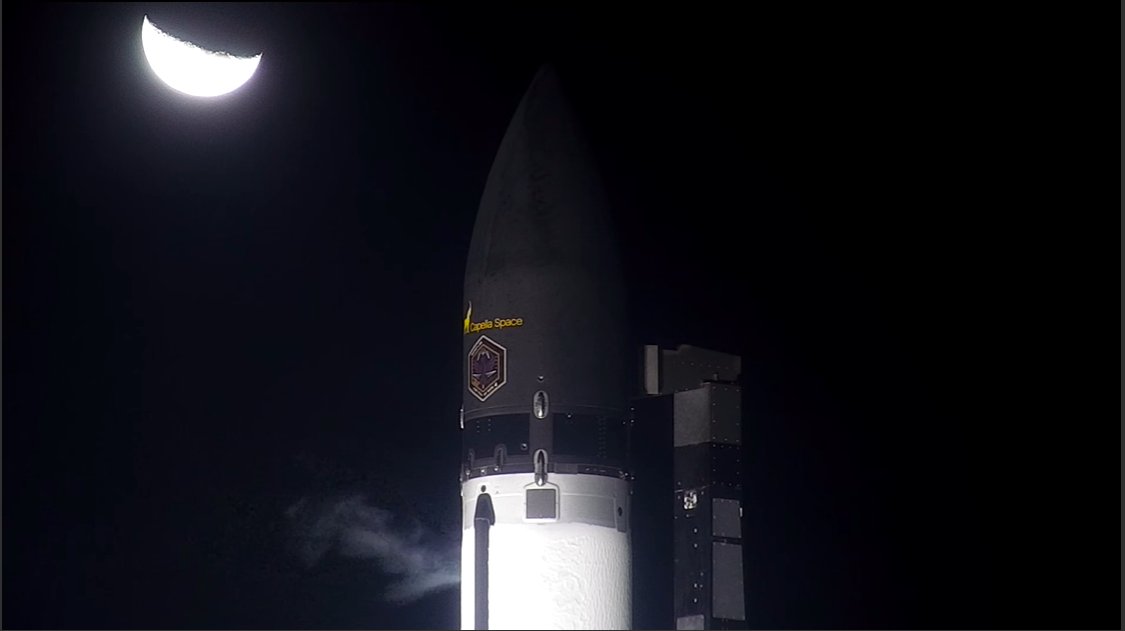
Satellite launches involve a lot more than what meets the eye. We recently launched the latest addition to our constellation of SAR satellites with the SpaceX Starlink 26 mission. As I explained in a recent blog post, however, our job has only just begun once the satellite is officially in orbit.
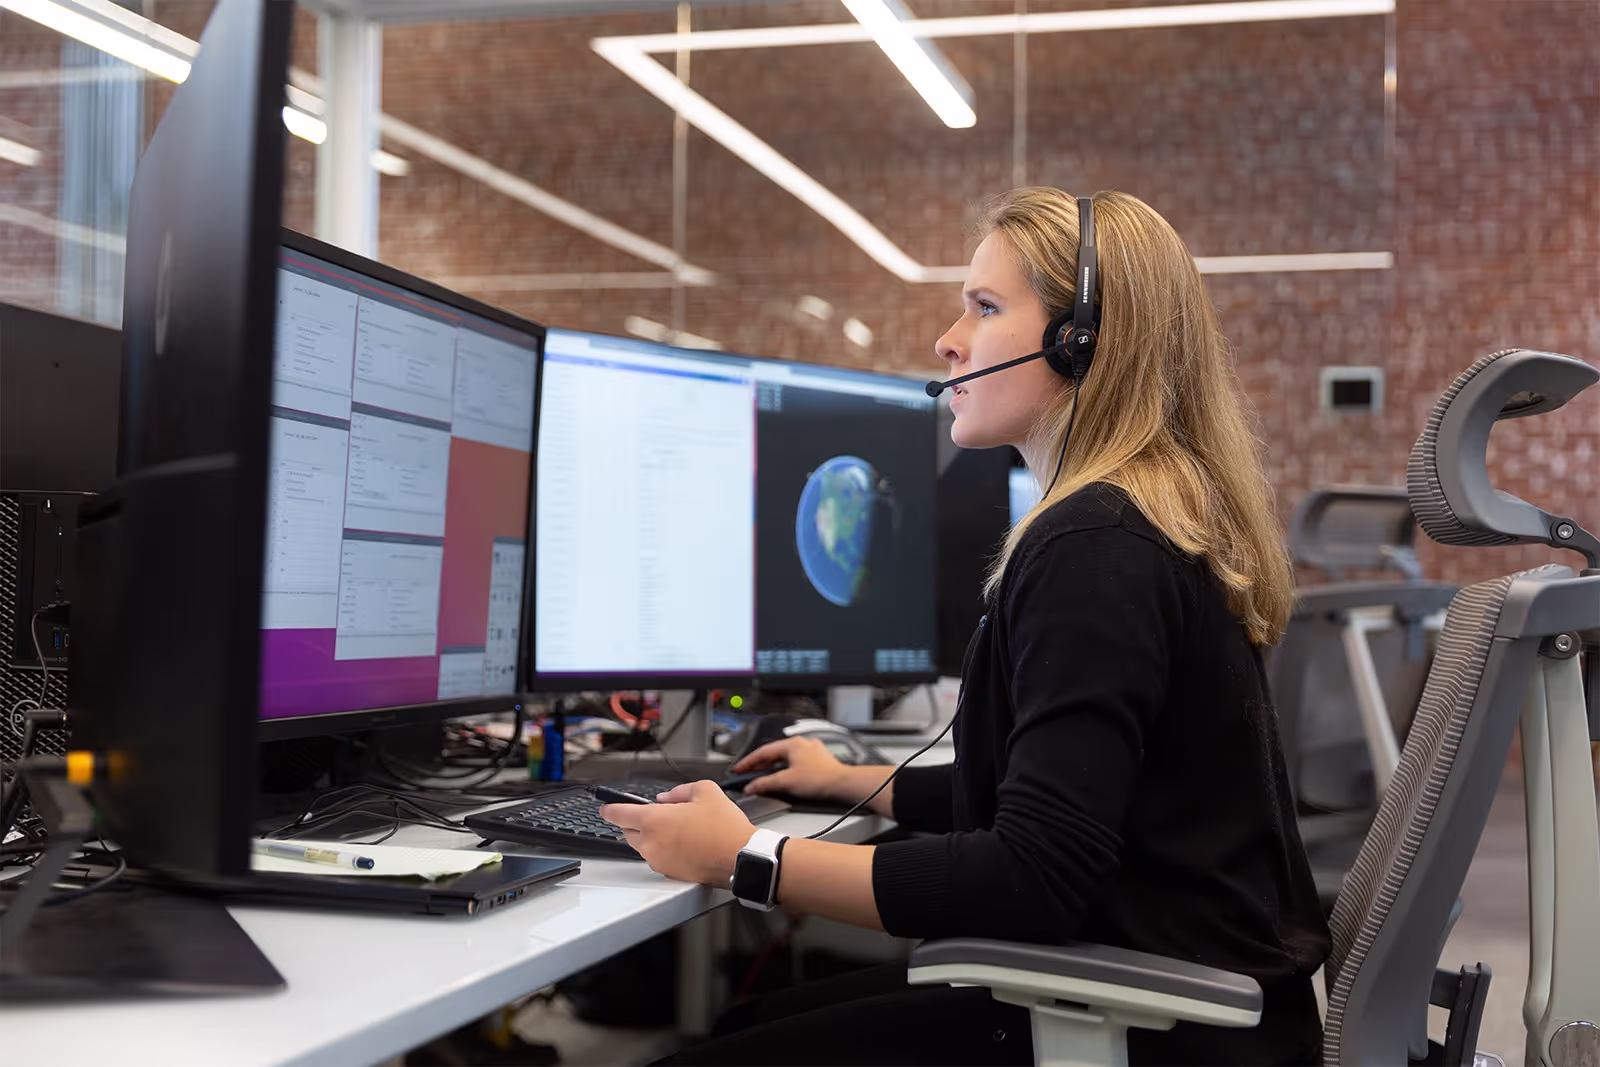
I’ve been part of the space operations group at Capella for four years now, helped develop our commissioning process, and served as the flight director for our first two launches. Our satellite operations team led by Rico Walker has made a lot of progress over the last several months in accelerating our commissioning timeline — most recently the team clocked in only five days from launch to first light. There’s a lot that goes on behind the scenes to make that happen so we can start delivering the highest resolution SAR data on the market. Here’s a breakdown of what our commissioning process involves:

1) First Contact
After the satellite is ejected from the launch vehicle, it autonomously powers on, detumbles, deploys its solar arrays to increase power generation, and puts itself in a safe state to await contact from the ground. At that point, Capella’s satellite operations team works to establish contact with the spacecraft. We use information provided by the launch vehicle provider to estimate potential communications windows when the satellite is in view of one of our ground stations. These predictions may not always be exact due to normal deviations of the rocket’s autonomous guidance and control system during launch, so the team is prepared to work with our ground station providers to adjust the tracking to make contact.
Once our engineers establish communications, they assess telemetry data to confirm the spacecraft is in the expected state and is healthy. They then use GPS information recorded by the satellite to create an improved orbit prediction to generate precision predictions of future communications windows. These communications windows are when the satellite operations execute the subsequent steps of the commissioning process to prepare the spacecraft for collecting imagery and continuous operations.
2) Check Onboard Engineering Cameras
The team turns on and checks on-board camera subsystems. These are used to observe and record the subsequent deployments in steps 3 and 4. These cameras provide invaluable feedback to the spacecraft design team in understanding the complex dynamics of how our deployable structures perform on-orbit and have been used to refine our deployment process.
3) Boom Deployment
The next step in commissioning is releasing the boom from its stowed configuration. When fully deployed, the boom extends to 3 meters in length. A camera is mounted near the end, which looks back towards the spacecraft and records and observes the subsequent reflector (antenna) deployment.
4) Antenna deployment
We deploy the antenna over a series of ground contacts. The first step is releasing the band that secures the antenna during launch. Once the band is released, the team checks that all motors are operating nominally by performing small initial motions. At this point, everything is ready to deploy the antenna. The team then triggers the autonomous reflector deployment sequence, which has the spacecraft perform a series of steps to expand the reflector to a nearly fully deployed state. The antenna unfolds, starting from the size of a dorm room refrigerator and expanding to 3 meters in diameter, filling an entire dorm room itself! In the final step of the deployment process, satellite operators command a final walkout and tensioning of the antenna to maximize the performance of the system.

5) Payload Downlink Commissioned
With the reflector fully deployed, the spacecraft is now nearly ready to start capturing imagery. However, before acquiring imagery, we need to be able to quickly get it back to Earth. To do this, our team turns on and tests the high data-rate communications link used to transmit radar data. This allows us to downlink radar data at rapid speeds through our global ground station network.
6) Radar Checkout
We next begin the checkout of our radar systems by first turning on the system and running the device in a listen-only mode, receiving only noise. Next, we conduct low-power, then high-power transmission tests, transmitting, recording and analyzing data from the spacecraft. Following confirmation of a successful high power transmit, we perform an initial calibration to compensate for small, expected on-orbit variations in the deployed reflector shape.
7) First Light
At this point, all of the careful planning, preparation, and testing has paid off and the spacecraft is now ready to capture imagery. The satellite’s first light SAR images are brought back down to Earth. During our last launch, our satellite captured its first light image of the Erez Border Crossing between Israel and Gaza one hour before the ceasefire between Israel and Hamas went into effect. Check it out below:

8) Radar Calibration
Even though the spacecraft can capture imagery at this point, we have further work to do before starting regular operations. The SAR processing team fine-tunes the radiometric calibration of the system before starting commercial operations. An extensive test campaign is performed to analyze and characterize the spacecraft-specific performance parameters to maximize system performance.
Providing High-Resolution SAR Data for Our Customers
Finally, our satellite is in orbit, commissioned, calibrated, and ready to go. We turn the spacecraft over to our fully automated operations system and the spacecraft joins our constellation of the highest-resolution SAR satellites commercially available anywhere in the world, providing 50 cm x 50 cm resolution imagery on demand to help our customers meet their business objectives.
Visit our website to learn more about Capella’s SAR imagery capabilities.
Curious Which Of Our Analytics Partners
Can Support Your Mission?
Contact our team to explore the possibilities. Our experts can help
you determine the optimal solutions for your unique needs.

Keywords
.png)
Stay Informed. Stay Ready.
Get briefings on new capabilities, technology improvements, and upcoming events.


.avif)
